
Measure, Math, Measure, Math
Slowly but surely, the fireplace framework begins taking shape... one careful measurement at a time.
I keep thinking I want to wait until the whole project is finished before posting, but quite frankly - it's going to take too long, and sharing the progress is half the fun!
Slow Progress Is Still Progress
The main reason this is taking so long is because I really don't have much time after work to monkey around with the built-in. Okay, you're onto me - the real reason it's taking awhile is that I'm not that skilled. Just putting a few boards together takes an incredibly long time...I measure, do the math (@#$%÷×& geometry), set up clamps, measure, do the math and set up clamps again!
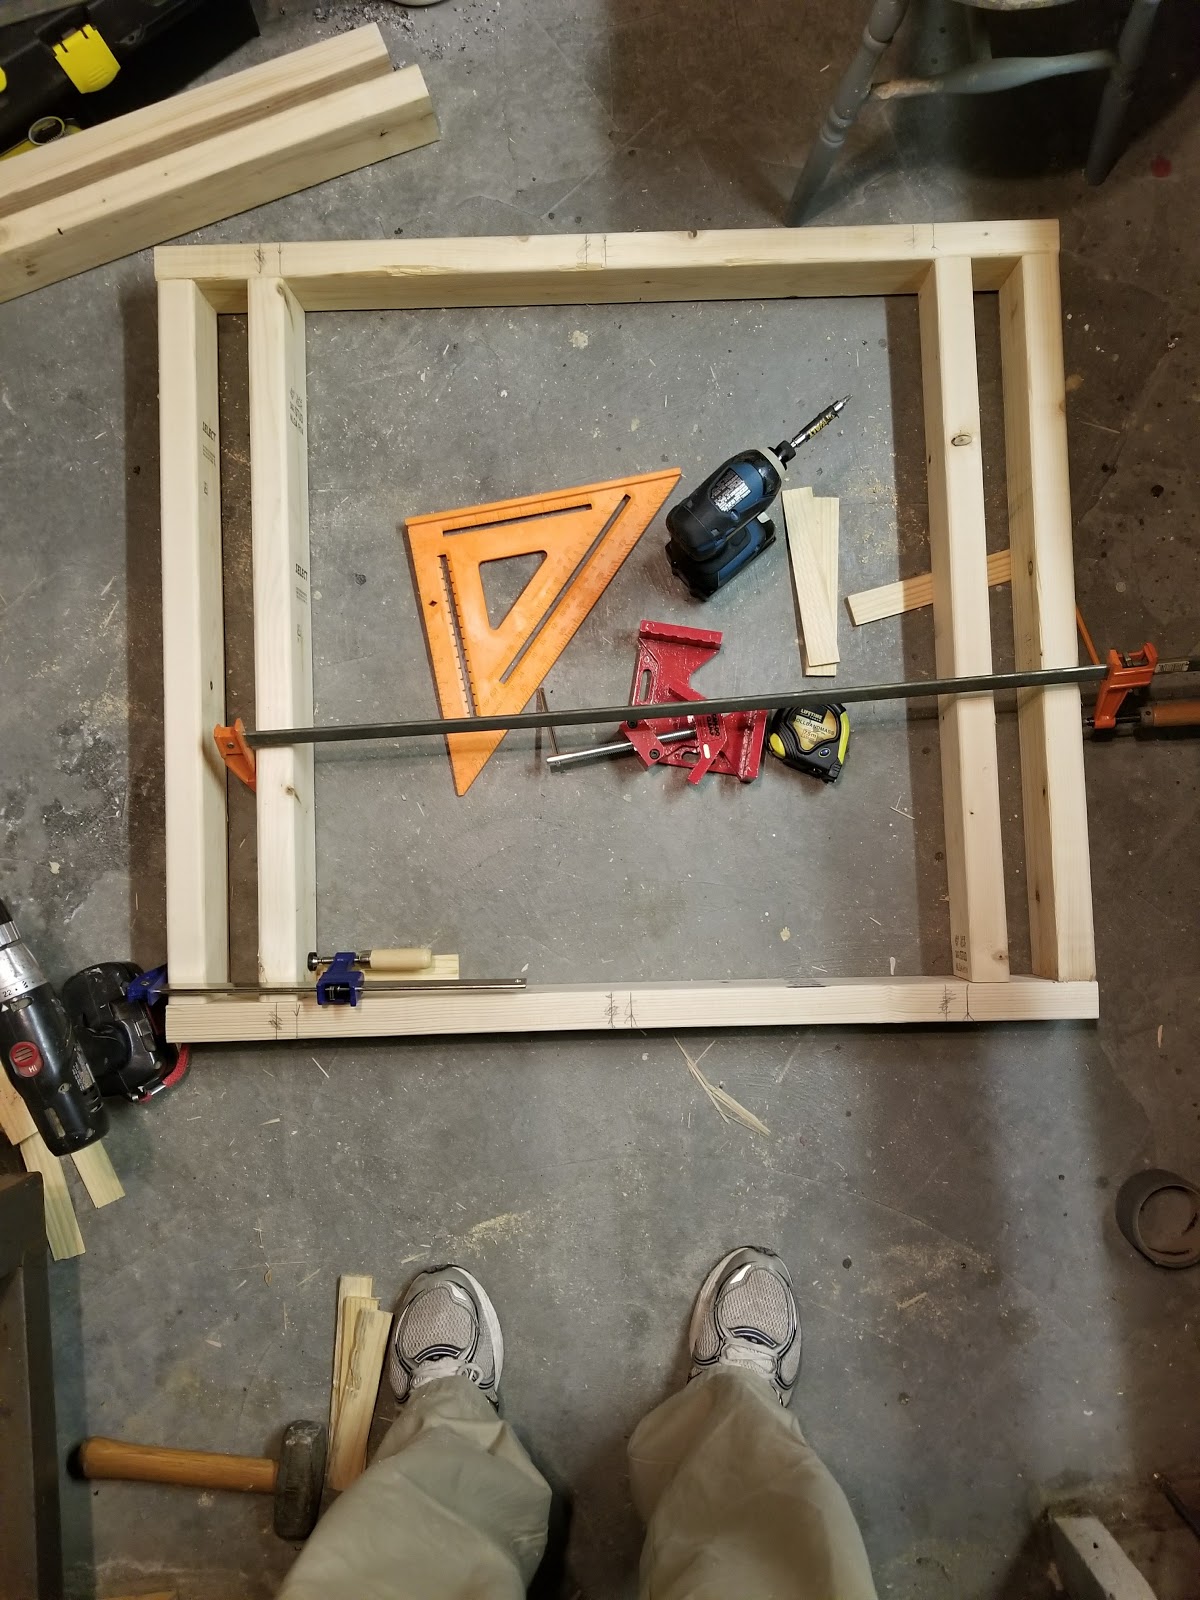
Building the Fireplace Carcass
For example, building the fireplace carcass took two evenings, a part of the project that probably would have taken a professional an hour! But....it's fun for me, a way to relieve the stress of the day.One of the unexpected joys of building something yourself is that nobody is waiting for you to finish. If I need to spend twenty minutes staring at a joint before making one cut, I can. If I decide tomorrow that tonight's work could be improved, that's perfectly fine too. The project doesn't answer to a customer or a deadline, it simply grows a little whenever life leaves enough room for another evening in the workshop.
Here's the first night's work:

That's right boys n girls! A whole evening for that! And the rest of the carcass took the whole of the next evening!


Dry Fitting the Pieces
Right now the front is just tacked to the rest of the carcass, there's a few things to do before it all gets permanently affixed. Tonight I got the based all leveled up, tomorrow I'll probably redo that long platform board (I mis-cut the one in the picture), then I want to get the power run up into the fireplace box. I already ran the wire from the circuit-breaker box to the spot in the workshop that's just below the dining room:

Once the platform is re-cut, I'll be able to drill the hole and set up the outlet. Seems like so many steps to go still!
See ya next time!
George
My husband disappears into the garage for an entire Saturday and comes back announcing, 'The frame is done!'I go out to admire his masterpiece...and it's a box.A very square box, apparently. 😂I've learned not to ask why it took all day because the answer always involves words like 'flush,' 'level,' and 'you only get one chance to do this right.'Then, six months later, people rave about the finished project and I realize that silly-looking box really was the important part. - Shelly, Texarkana
Frequently Asked Questions
What is a fireplace carcass?
A fireplace carcass is the structural framework that supports the fireplace insert, mantel, and surrounding built-in cabinetry. It establishes the dimensions and alignment for the entire project.
Why dry-fit a built-in before permanently fastening everything together?
Dry-fitting allows adjustments before parts become permanent. It's much easier to correct measurements, wiring, and alignment while components can still be disassembled.
Why does DIY woodworking take so much longer than professional work?
Professionals benefit from years of experience, dedicated workshops, specialized tools, and uninterrupted workdays. Hobby woodworkers often build in short evening sessions while carefully checking every measurement.
When should electrical wiring be installed in a built-in?
Electrical rough-in is generally completed before permanent assembly so outlets and wiring remain accessible and properly positioned behind the finished cabinetry.
Keywords
fireplace carcass, fireplace framing, built-in fireplace, DIY fireplace surround, custom built-in, cabinet carcass, House 173, woodworking project, built-in bookcase, fireplace construction
Post a Comment